Your first deep-sky image rarely looks like the ones that convinced you to buy a mount. The stars are soft, the background is a swamp of coloured noise, and the galaxy you spent two hours on is a faint grey smudge with a green cast. It is tempting to blame the telescope or the camera. Most of the time the culprit is one of a few small mistakes that almost everyone makes in their first season, and every one of them has a fix you can apply on the next clear night.
Focus that is close but not right
"Close enough" is the most expensive phrase in astrophotography. A star that looks sharp on the camera's rear screen at thumbnail size can be twice as wide as it should be when you zoom in. Autofocus systems built for daylight scenes have nothing to lock onto in a dark sky, and the human eye is poor at judging fine focus on a dim, small display.
Use a Bahtinov mask for bright stars. The three diffraction spikes should meet in a clean, symmetrical crossing; when the centre spike sits exactly between the other two, you are focused. If you prefer software, most capture programs offer a focus routine that measures star width in HFR (half-flux radius) and tells you when the number stops falling. Whichever method you use, zoom to 200 percent before you decide.
Then remember that focus drifts. As the night cools, metal tubes and lens elements contract, and a focus that was perfect at 22:00 is often soft by midnight. Refocus every hour or after a temperature drop of a few degrees, and refocus immediately after changing a filter if your filter wheel is not parfocal.
Tracking errors you mistake for bad seeing
Elongated stars in a consistent direction are almost never atmospheric. They usually mean polar alignment is off, the mount is being asked to carry more weight than it likes, or the tripod is settling into soft ground. Poor seeing makes stars bloat and twinkle; it does not draw them into little commas.
- Polar alignment: a rough polar scope alignment is fine for wide fields at short focal lengths, but at 600 mm or more, small errors turn into drift within minutes. Spend ten minutes with a software-assisted alignment routine and your keeper rate will jump.
- Balance: the mount should be slightly east-heavy in right ascension so the gears stay loaded. Perfect balance sounds ideal and often produces backlash chatter.
- Cables: a USB cable snagging on the mount mid-session ruins sub-exposures quietly. Route everything with slack, and check for drag at the extremes of the meridian.
- Guiding: if you guide, look at the guide graph rather than the final image. A consistent saw-tooth pattern points to a periodic error or an aggressive correction setting, not to the sky.
For a tracker or a lightweight mount, halve your expectations for sub-exposure length rather than fighting the hardware. Two hundred good 30-second frames beat twenty trailed 120-second ones.
Exposure length: too long, too few, or both
Two opposite mistakes dominate. The first is chasing very long sub-exposures because "longer must be better" — which saturates stars and lets tracking errors accumulate. The second is shooting hundreds of very short frames at high ISO, which produces a stack full of read noise.
Read the histogram on the back of the camera after a test frame. For most colour cameras, the peak of the histogram should sit roughly a quarter to a third of the way from the left edge. Much further left and you are underexposed; pressed against the middle, you are clipping faint detail in the brighter parts of the frame. Sub-exposures of 60 to 300 seconds cover the vast majority of amateur setups; let the histogram and your tracking accuracy decide, not a forum post.
The number that matters more than sub length is total integration time. Forty minutes on a faint galaxy will look grainy no matter how good the processing. Plan for at least two hours on bright objects and considerably more on faint nebulae, and shoot over several nights if the weather allows.
Skipping calibration frames
Calibration frames are the least exciting part of the hobby and the one that most improves a beginner's results. They remove sensor artefacts that no amount of processing can invent its way around.
- Darks — same exposure time, gain or ISO, and temperature as your lights, taken with the lens cap on. Twenty to thirty is a reasonable start. For uncooled cameras, shoot them in the same session or in a similarly warm environment.
- Flats — taken through the same optical train, at the same focus, with an even light source such as a t-shirt over the dew shield pointed at twilight sky or a flat panel. Aim for a histogram around the middle of the range.
- Bias or dark flats — quick exposures at the shortest possible shutter speed, used to scale the flats correctly. Match whichever your stacking software expects.
Do not dismantle the imaging train between lights and flats. The moment the camera rotates on the focuser, your flats no longer describe the dust shadows you actually captured.
Processing errors that undo a good night
A clean stack often gets wrecked in ten minutes of processing. The most common problems are stretching too hard, clipping the background to black, and removing gradients after the stretch instead of before it. Once you push the black point past the noise floor, you throw away faint nebulosity and leave a flat, posterised sky.
Work in a sensible order: calibrate, stack, remove gradients on the linear image, then stretch gently and repeatedly rather than in one aggressive move. Use curves with masks so you can lift the dim dust without blowing out the core of a nebula. Check colour balance on a star field rather than on the background alone — many beginners neutralise the background until every star turns white. Finally, resist heavy noise reduction. Slightly grainy but detailed beats smooth and waxy every time, and more integration time fixes noise at the source.
A pre-flight routine worth taping to the mount
Ten minutes of checks before it gets dark saves hours of disappointment. Level the tripod, polar align, balance the axes, focus with a mask, take one 30-second test frame and inspect it at full zoom for trailing and focus. Then take your flats while the sky is still even, and start imaging with a plan for total integration time rather than a target sub count.
Keep a short log of what you changed between sessions — focus position, sub length, gain, guiding settings. When an image improves, you will know why. Most of the progress in this hobby comes from repeating a simple routine and changing one variable at a time.
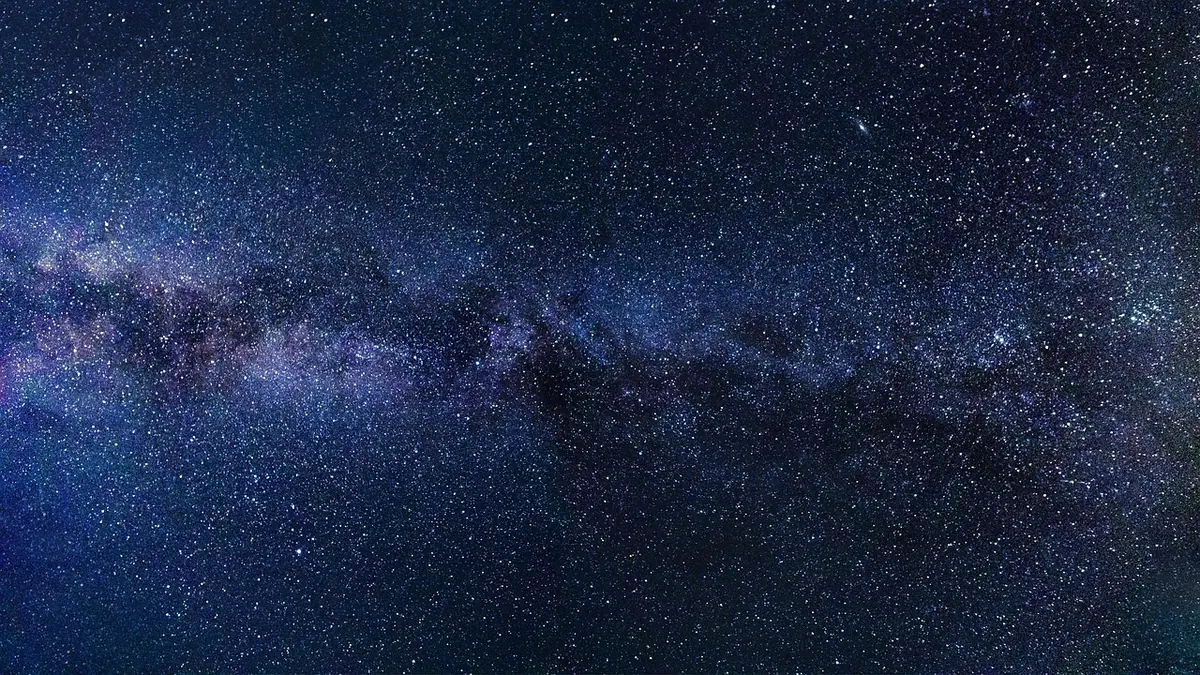
Photo: Felix-Mittermeier / Pixabay