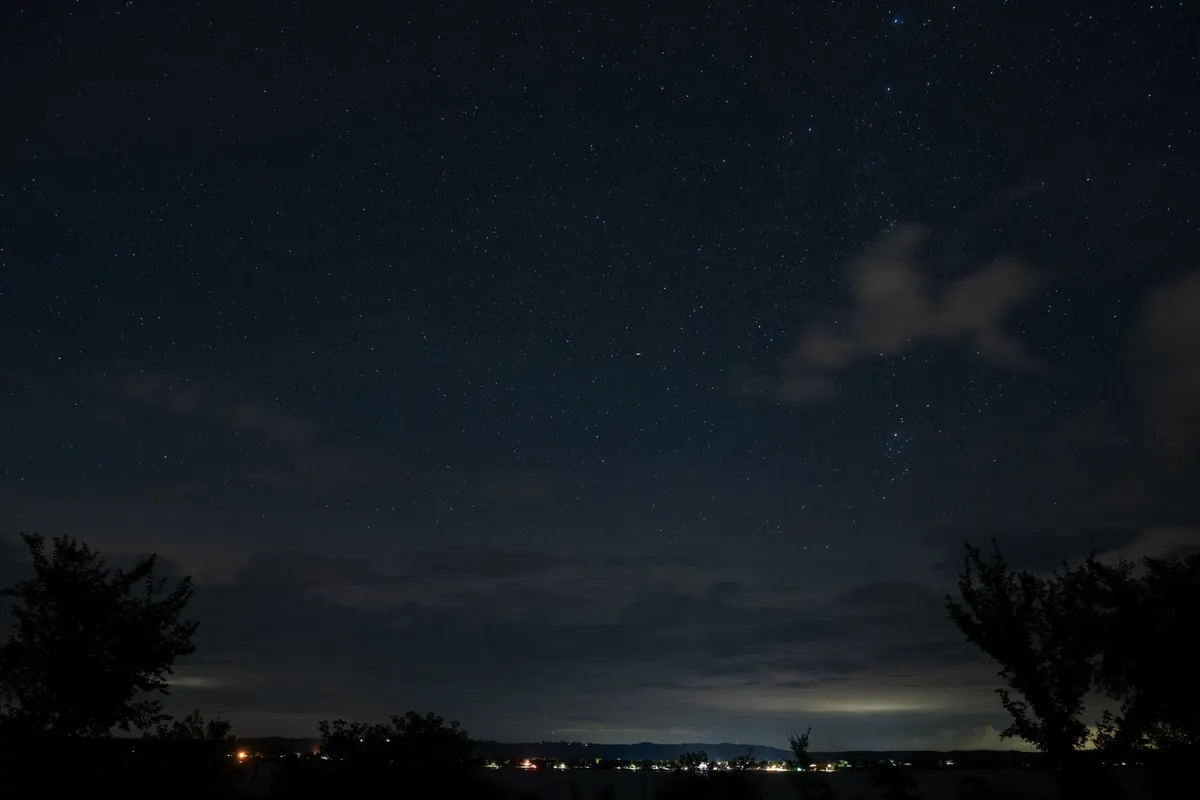
An equatorial mount looks intimidating in a way a plain alt-azimuth tripod never does. There are more knobs, a counterweight swinging on a steel shaft, and a setting that asks for your latitude — a number most of us have to look up the first time. The mount is not being difficult. It is being precise, and precision is what keeps a planet steady in the eyepiece at 200x instead of sliding out of view every twenty seconds.
Here is the reassuring part: for visual observing you do not need a perfect polar alignment. You need a level base, a latitude dialed in close enough, a polar axis pointed roughly at the celestial pole, and a telescope balanced so nothing is fighting gravity. That is a 30-minute job, including the trip back inside for the eyepiece you forgot. What follows is the order I use, arranged so you never have to undo a step you already finished.
Minutes 1 to 8: Firm Ground, Level Tripod, Correct Latitude
Start with the ground, not the mount. Soft lawn, a wooden deck, or a balcony that flexes underfoot will undo every careful adjustment later. Firm soil, stone, or concrete is what you want. Set the tripod legs at a comfortable height before you load anything on it — bending to an eyepiece all evening is the fastest way to end a session early.
Level the tripod using the bubble level on the head, or a small spirit level laid across the accessory tray. Then set your latitude. Find the scale on the polar axis housing and turn the altitude adjustment knob until the pointer reads your latitude: about 42 degrees if you observe from Rome, about 45 from Milan. Some mounts have a second locking bolt for the altitude axis, and it is worth snugging once the number is right.
- Legs fully splayed and the spreader or tray locked tight.
- Mount head seated flush on the tripod, bolts hand-tight.
- Latitude scale set and the altitude lock bolts snug.
- Counterweight shaft and counterweight installed before the telescope goes on.
- Polar axis roughly facing north, so azimuth knobs have room to travel both ways.
Minutes 8 to 16: Aim the Polar Axis at Polaris
Rough polar alignment for visual work is much simpler than the drift-alignment rituals you will find in imaging guides. Set the declination axis to 90 degrees. If the mount has a polar scope, look through it and use the azimuth knobs to swing the mount left and right, and the altitude knob to raise or lower the axis, until Polaris sits near the center of the field.
One thing worth knowing: Polaris is not exactly at the pole. It orbits it at a little under a degree, so in a polar scope reticle it belongs at a specific spot on the circle for the date and time, not dead center. For visual observing this detail rarely matters — being within a degree or so of the pole keeps objects in a medium-power eyepiece for minutes at a time, which is plenty.
If you cannot see through the polar bore, sight along the outside of the right ascension axis like a rifle, or use a compass and remember that magnetic north and true north are not the same where you live. Observers in the southern hemisphere have no bright pole star; a compass bearing plus a correctly set latitude gets you close enough to start, and Sigma Octantis is there for the patient.
A simple test of "good enough": center a moderately bright star, look away for two minutes, then look back. If it is still in the field, stop adjusting and start observing.
Minutes 16 to 24: Balance Both Axes Properly
Balance the telescope fully assembled — diagonal, finder, and your heaviest eyepiece in the focuser. A scope balanced with a light eyepiece and then loaded with a heavy one will droop every time you point it upward.
Right ascension: the counterweight
- Rotate the mount until the counterweight shaft is horizontal.
- Grip the tube with one hand and loosen the RA clutch.
- Slide the counterweight up or down the shaft until neither end of the assembly falls.
- Tighten the counterweight screw, then nudge the tube. It should stay where you leave it, not swing back.
Declination: the dovetail
Set the tube roughly horizontal, loosen the declination clutch, and slide the dovetail bar forward or back in the saddle until the scope is neutral. When you find the spot, mark it with a pencil line or a strip of tape. Next session you will hit balance in seconds instead of minutes.
Keep a hand on the tube any time a clutch is loose. An unbalanced telescope with an open clutch will rotate fast, and the only thing that stops it is whatever is underneath — usually the tripod leg, occasionally the counterweight, and now and then your eyebrow.
Minutes 24 to 28: Finder, Eyepiece, and a Comfortable Position
Align the finder to the main scope before it gets fully dark if you can. Point the telescope at a distant chimney or antenna at high magnification, center it, then adjust the finder's screws until the crosshair sits on the same object. At night, repeat on a bright star or the Moon. A finder that is a degree off turns every star hop into guesswork.
Then sort out your body. As the mount swings, the eyepiece can end up pointing at your knees or three inches above your eye. Rotate the star diagonal to bring the eyepiece to a comfortable angle, and on a Newtonian, loosen the tube rings and rotate the tube itself rather than contorting around it. An adjustable observing chair is not a luxury; it is the reason you can look at the Moon for an hour without a stiff neck.
Minutes 28 to 30: Find Something, Then Only Turn One Knob
Start with your lowest-power eyepiece — a 25mm, say — because it gives the widest field and the most forgiving view. Center a bright star or the Moon, focus, and work up in magnification from there. From this point on, the right ascension slow-motion knob is the only control you should need: give it a small turn every so often and the object stays put. The declination knob waits until you move to a new target.
Good first targets depend on the season, but the Moon, Jupiter and Saturn when they are up, the Orion Nebula in winter, and the Andromeda galaxy or the double star Albireo in autumn are all forgiving of a rough alignment. To get there, use the finder to hop from a bright star you can name, keeping in mind how wide your low-power field actually is: if you know the view spans about one degree, you know how far a single hop can take you.
A Short Check Before You Go Back Inside
Firm up the clutches — snug, never brutal — confirm the altitude lock bolts are tight, and cap the telescope. If you observe from the same spot regularly, mark the tripod feet with three small dents in the lawn or chalk marks on the paving. Setting the legs into those marks next time gives you a level, roughly aligned mount before you touch a single knob, and the whole routine quietly drops to twenty minutes. Jot down one note about the session: what worked, what slipped, which eyepiece spent the night in the case. That small habit is what turns a fiddly equatorial mount into the most natural piece of gear you own.
Photo: Ri_Lens / Pixabay